6.3.2 Create a Message Box with JDialog Form Class
In the opened project, right-click on our project, OracleSelectFaculty, in the Projects win-dow and select the New|OK/Cancel Dialog Sample Form item from the popup menu to open the New JDialog Form dialog box. Enter MsgDialog in the Class Name box as our dialog

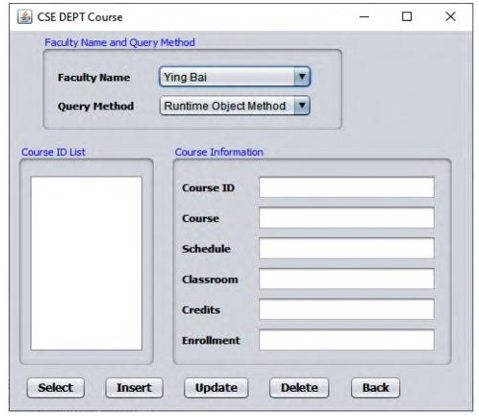
FIGURE 6.9 The Finished CourseFrame Form window.


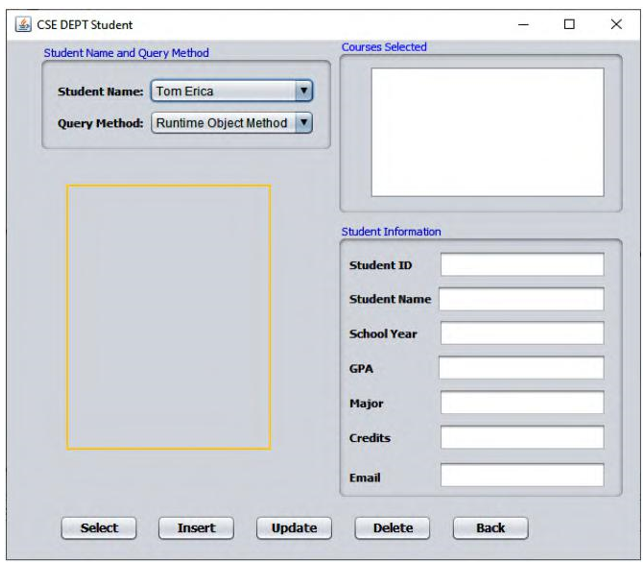
FIGURE 6.10 Finished StudentFrame Form window.
box’s name and select OracleSelectFacultyPackage from the Package box to select it as our package in which our MsgDialog will be developed. Your finished New JDialog Form dialog
box should match the one shown in Figure 6.11.
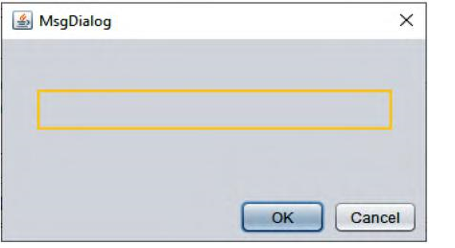
Click on the Design tab from the top to open the Design View of our newly created MsgDialog box. Reduce the size to an appropriate one, and add one label control to this dialog by dragging a Label control from the Palette window and placing it on our dialog box. Right-click on this label and select the Change Variable Name item from the popup menu to change it to MsgLabel. Go to the text property to remove the default text. A preview of this dialog box is shown in Figure 6.11.
In order to use this dialog box as our MessageBox, we need to add some code to this class. First
we need to add code to the constructor of this class to make this dialog display at the center of the screen as the project runs. To do that, open the Code Window by clicking on the Source tab from the top, and enter this.setLocationRelativeTo(null); just under the initCompo-nents(); method in the constructor.
Then, move your cursor just under the line: public static final int RET _ OK = 1; and enter the code shown in Figure 6.12 to create a new method, setMessage(). Your finished code for these two code-adding processes, which have been highlighted, is shown in Figure 6.12.
At this point, we have completed building all the graphical user interfaces we need in this proj-ect. Next let’s concentrate on the code development to perform the data query for each different data Table in our sample database.
Before we can access our sample database to perform any query, first let’s take care of loading and registering the JDBC Driver for Oracle database.

FIGURE 6.11 A preview of the designed Message Box.

FIGURE 6.12 Code for the constructor and the setMessage() method.
